17 November 2015

I finally made it!

For the Princess: One of my old shirts was on its way out about the same time I discovered this idea from Sugar Tart Craft to use adult shirts to make shirts/dresses for children. Adding a link isn't working at the moment, but will, if I remember, try again. It was a new experience really working with knits, but the double needle really, really helped! Unfortunately I bent it yesterday working on another project.

However, she loves her dress. It's her 'flower dress' even with the not flower looking glob at the top. Better luck next time. The ruffle was made by sewing a tight zig zag stitch on the edge of the fabric while stretching it. I need to try again, but it kind of worked.


For the Little Man: He got a Sunday outfit. The pants and shirt both came from Daddy's closet. The pants pattern I made by tracing some currently fitting pants, because pants are actually super easy. The shirt was a free pattern from (I'll research this and put it in soon). It bothers me that little boy dress shirts are not onesies, so I made it myself. It is way better than trying to tuck in every minute at church. One less thing to distract during the meeting. It turned out well, but I have some changes for next time. Thankfully Daddy's shirt is big enough to make two. That way I don't have to make the buttons, also know as a placket.

Now on to the next project. I just have to pick which one...


12 September 2015

Accessorize Mommy

The latest craze in my project frenzied brain: Nursing necklaces. The Little Man approves. These are a way for mom to accessorize without breaking the child or the jewelry. Lots of people sell them. Lots of people make them. Lots of people make tutorials for them. This is not a full tutorial. It is me sharing an added safety feature. Instead of adding free beads to a fabric tube, I strung them first. This way if the seam pops or baby's newly minted fangs rip the fabric, the bead won't pop down his throat. It must have been insiration, because this tired mommy brain is a bit preoccupied. This is still not a toy, but my little guy hangs on to it all the time. He munches occasionally too, but mostly hangs on. Keeps us connected.


06 May 2015

Re: Brainwaves


Dear Little Fiend that has taken residence on my shoulder,
You must be tired. Since the birth of my son, you have amped up your constant propaganda in my head. For the record, I will survive, even when the baby is crying, or when dinner is at 9 pm, or when I haven't slept in days, or when the toddler is behaving as only she knows how, or when the laundry is about to swallow the house whole, or when we have to eat with our fingers, because no silverware is clean (not that the toddler minds), or when, upon entering the kitchen, you get stuck as if in quicksand from the layers of spilled yesterday's juice. Your voice may seem strong from the post-pregnancy hormones or from the sleep depravation, but I won't give in yet. Please consider moving.
Sincerely,
A new mommy

15 February 2015

Ground cover

Here's the latest in home projects: A t-shirt rug. These pictures are trial one. We are on to trial two. Stretchy fabric is difficult to work with, particularly in that it continues to stretch even after it's woven, so constant tightening is necessary. Too much tightening yields a not flat rug. Hence, we are on to trial two. More pictures when it ever gets finished. It has to though, as it is a borrowed hula hoop. The inspiration come from some online source and said 2-3 hours. Hours on Venus maybe?


Want to know how it's done? Cut strips of t-shirt (horizontally) from the bottom hem to the sleeves. Use several strips, loops actually, as the front and back remain in tact, as the cross pieces (the warp) and wrap them around the hula hoop. Loop another t-shirt piece around the center of these, as you would a luggage tag, and begin the over/under weave (the weft). Two of the warp pieces must be treated as one, in order to give an odd number. Continue adding pieces and weaving. Eventually, separate each warp into two strands in order to give the rug more structure. How's that for an explanation. I have yet to finish it off. You may get that story someday.

04 January 2015

Christmas gifts

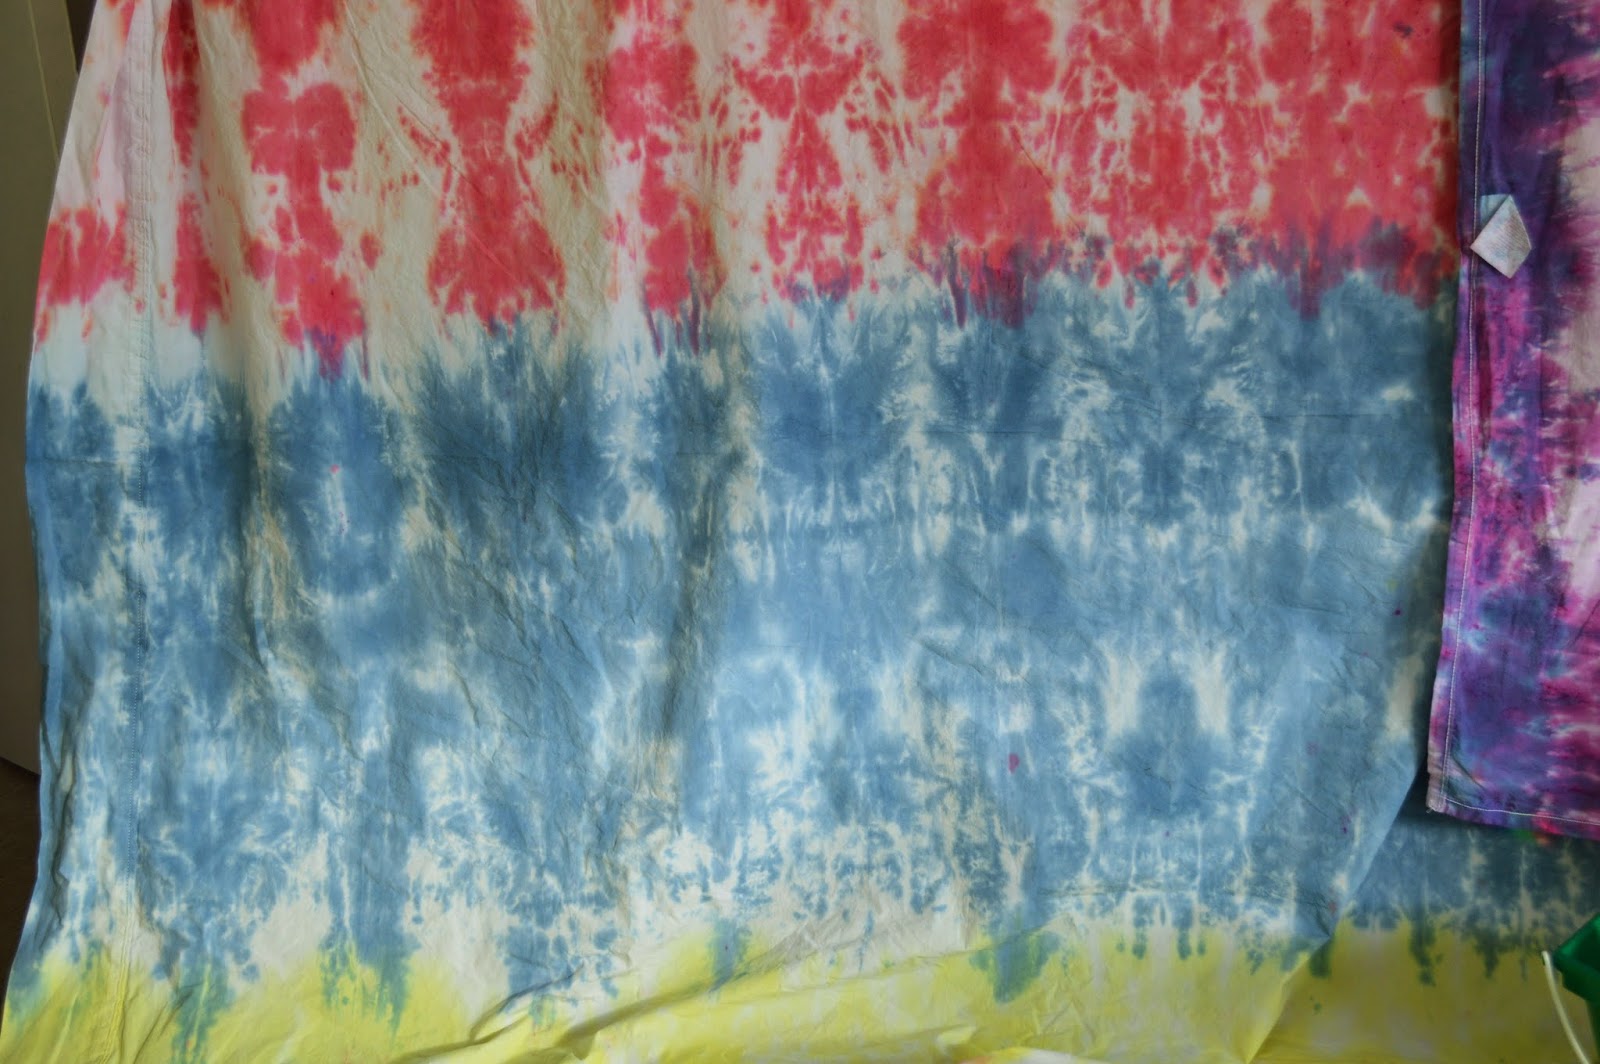
Here are the promised pictures now that all the Christmas gifts have been sent. The sheets were for my sisters (the first three are one set in a spiral and fish tail? pattern, the second three are the sun, star, and sunset, though the star ended up with 6 points and didn't come out very clearly)


and the apron for my mother-in-law. Thanks for the old jeans, Mom! The Princess even got a matching one entirely of pockets!!!

What I learned:

  • Tie dye really does stain stuff. It also washes out a lot, so the colors you start with are not what you will get. It's worth a try though and really fun, if you stop worrying about how many colors your little person will be by the end. There's more to share, but maybe another time.
  • When cutting a square, say, around a pocket, maker sure to leave lots of room for the seam. These are called flat felled seams, I think, and are like the double seam in jeans, where there is no rough edge. It's done by putting the two wrong sides together, staggered slightly, so that the longer edge can roll over the other and a second seam holds it together. 
Merry Christmas once again! May the spirit of Christmas last all year!